Introduction
Developing on Microsoft Power BI / Microsoft Fabric is adopting more and more engineering practices. Modern data teams find themselves looking towards solutions for collaborative development, version control and lifecycle management solutions.
The GIT integration feature introduced to workspaces in Power BI / Fabric patches up many of the holes, and in combination with the built-in Deployment Pipelines we are starting to look at a decent setup for Application Lifecycle Management (ALM) for Power BI and Fabric.
But how do you as a team accomplish this? This blog outlines two proposed setups for team collaboration, including managing version control, merge conflicts and deployments.
General Architecture
The general architecture of the proposed team development and deployment paradigm looks as follows:

In brief, the architecture leverages 3 components:
- Fabric / Power BI Workspaces
- Azure DevOps repository with branches
- A deployment pipeline
In this article, we will have a look at the first two components, before a future article will tackle the pipelines.
Initial Setup – The shared DEV workspace
The MVP of this architecture, is the Shared DEV workspace. The workspace acts as the anchor point for all developers. It is the workspace that is connected to the main Azure DevOps GIT branch, and also the starting point for our Deployment Pipeline.
To get started, follow my previous blog, to create an Azure DevOps repos, a development Workspace and setup the two to be synchronized: https://downhill-data.com/2024/06/18/simple-version-history-in-fabric-power-bi-with-git-integration-a-beginners-guide/
Collaborative Development w. GIT Integration
Now the question is: How do we allow multiple collaborators to work on the same items in this Shared DEV Workspace?
The answer lies in creating personal branches and workspaces to complete individual development work, before merging those to the main branch and shared DEV workspace through Pull Requests i Azure DevOps.
When a new feature is to be developed on an item in the Shared DEV Workspace, the team members can assume one of the following approaches:
Approach 1: Individual DEV Workspaces + Individual Feature Branches
PSA: Just as this blog was released, new awesome branching features for Fabric Workspaces was released as well: Introducing New Branching Capabilities in Fabric Git Integration | Microsoft Fabric-blog | Microsoft Fabric. I have not fully tested the capabilities yet, but have included the approach in this blog. Also check out Marc Lelijvelds blog on the topic for more great insights: Fabric Git branching with the new branch-out option how it works and what you should keep in mind – Data – Marc (data-marc.com)
Now on with the blog…:
Step 1: Creating Workspaces and Branches
To create Individual DEV Workspaces with Individual Feature Branches, you have two options: Use the “Branch out to new workspace” option to automatically create a new workspace + feature branch and link the two, or do it manually.
To use the new “Branch out to new workspace” option, simply navigate to your Shared Dev Workspace, and open the Source Control menu:

Next, click the tiny ‘Branch’ button in the right hand menu to open the Branch menu. From here you can see your current and related Branches:

And from the dropdown you can branch out to a new workspace, automatically creating a workspace, a feature branch, and the link between the two in the process:


To use the ‘old’ manual approach:
First, create a new workspace for each collaborator:

Each team member now connects their new workspace to the DevOps repo, but when selecting branch, choose to create a new branch in their own name, and base it on the main branch:
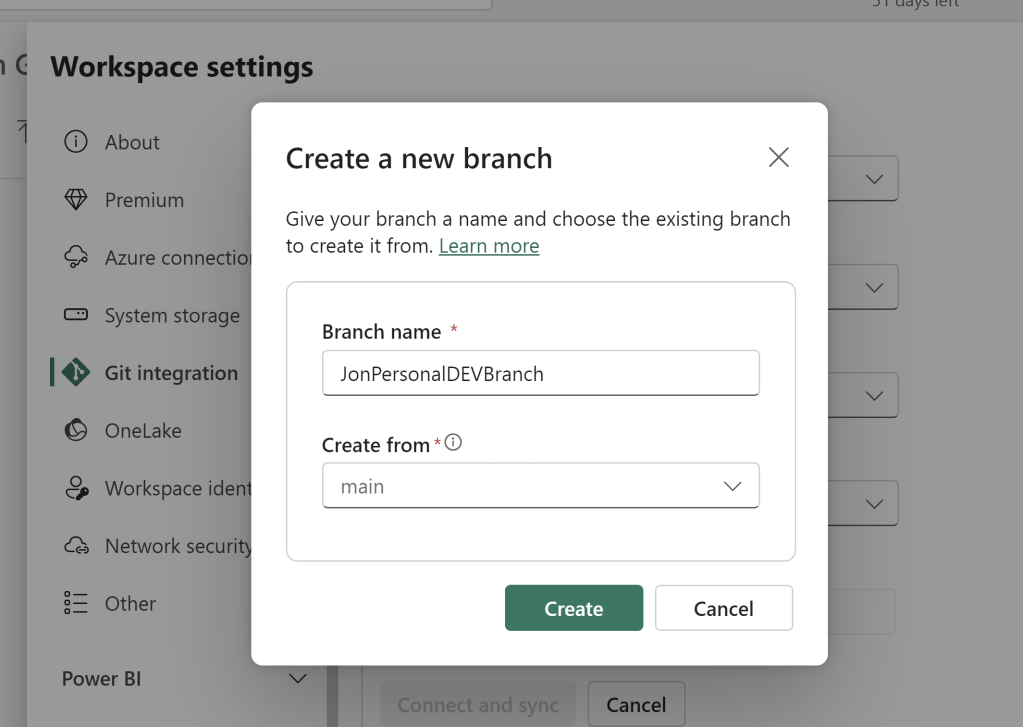
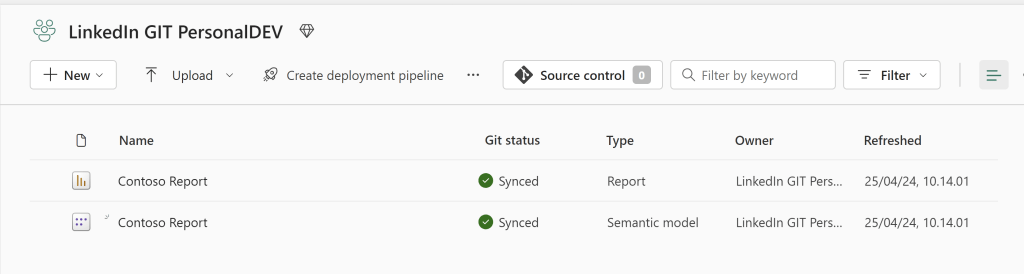
This will sync the items from the main branch into this new Personal DEV Workspace:

Step 2: Making changes in an individual workspace/feature branch and committing changes to the Shared branch
Regardless of your approach for step 1, step 2 follow the same process:
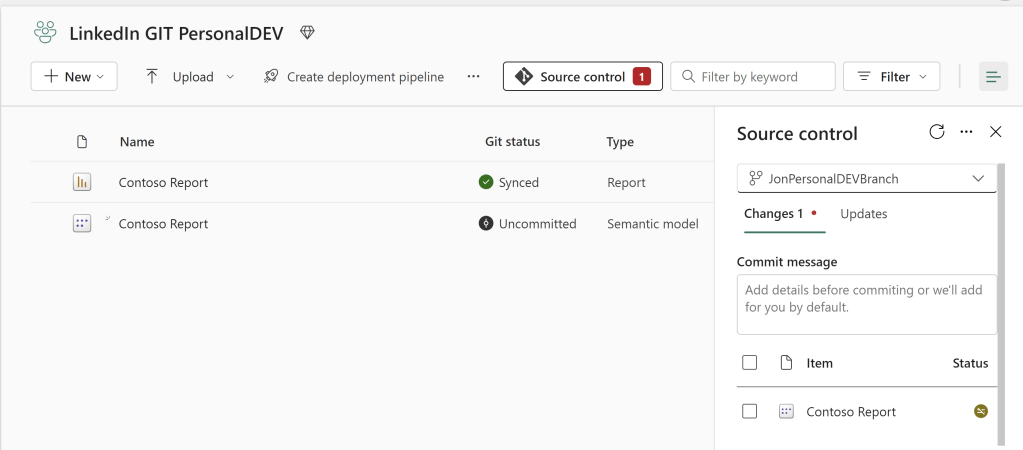
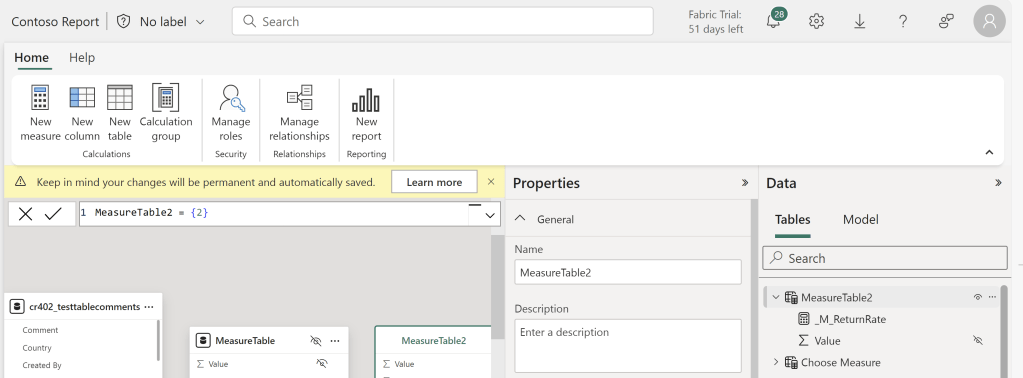
Let’s try to make a change to the Semantic Model. Here I am creating a new table to be used as Measure Table. I have moved one of my Calculated Measures into the table, and hidden the original column:

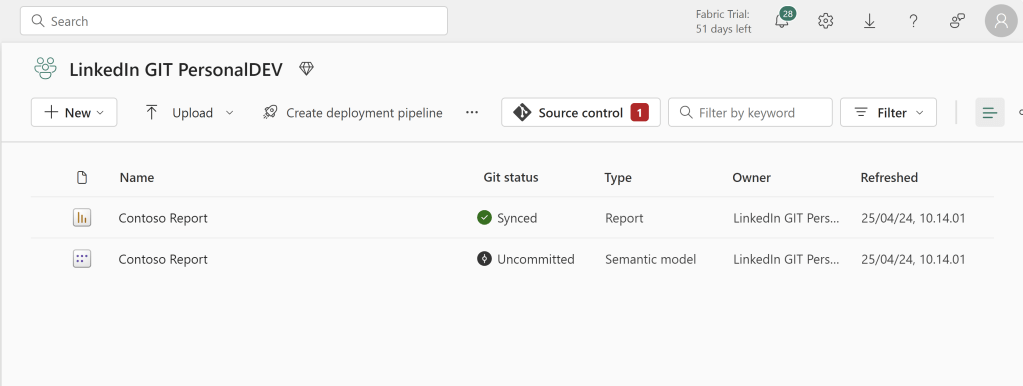
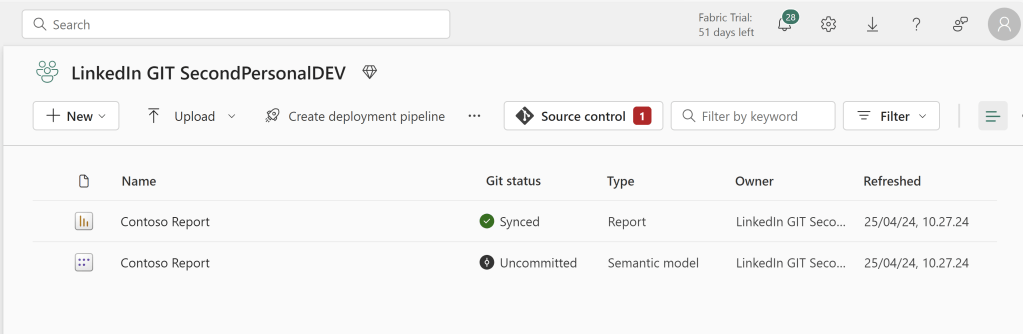
Exiting the semantic model prompts the GIT Integration to recognize an uncommitted change against my Personal DEV Branch in DevOps:
Going into DevOps again, I’m immediately told that a branch was updated:
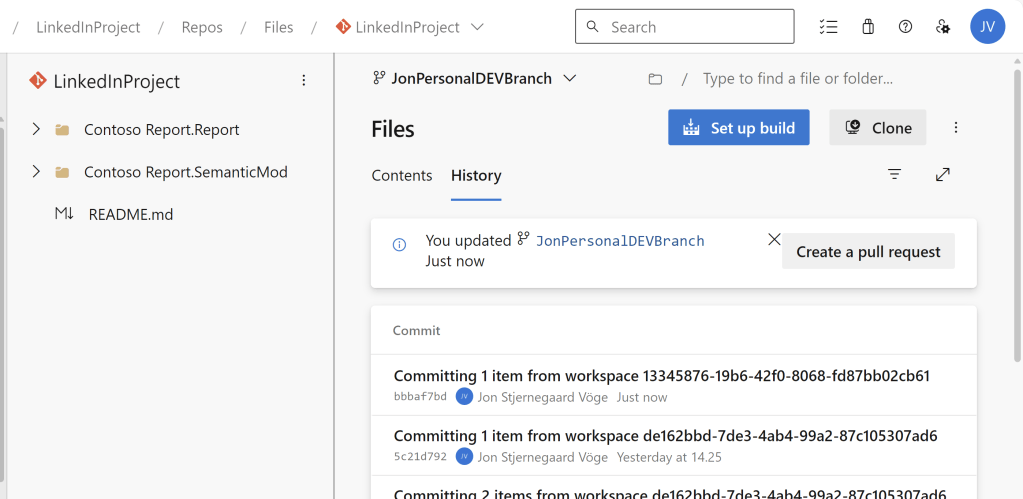
And you can easily create a new Pull Request, to merge the Personal DEV Branch into main:

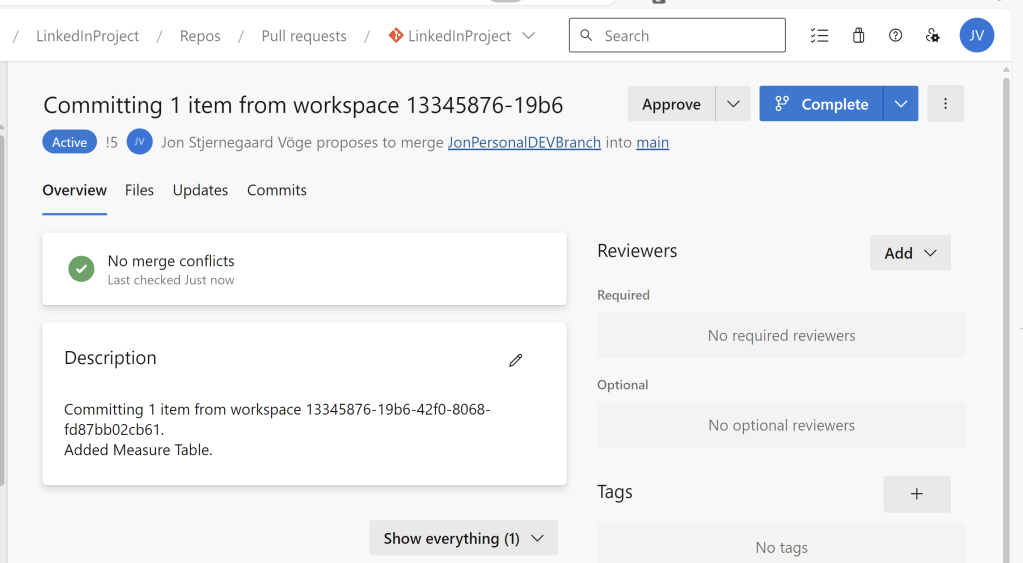
Notice how the Pull Request says no merge conflicts? That’s great. We can review and approve the change, and complete the pull request:
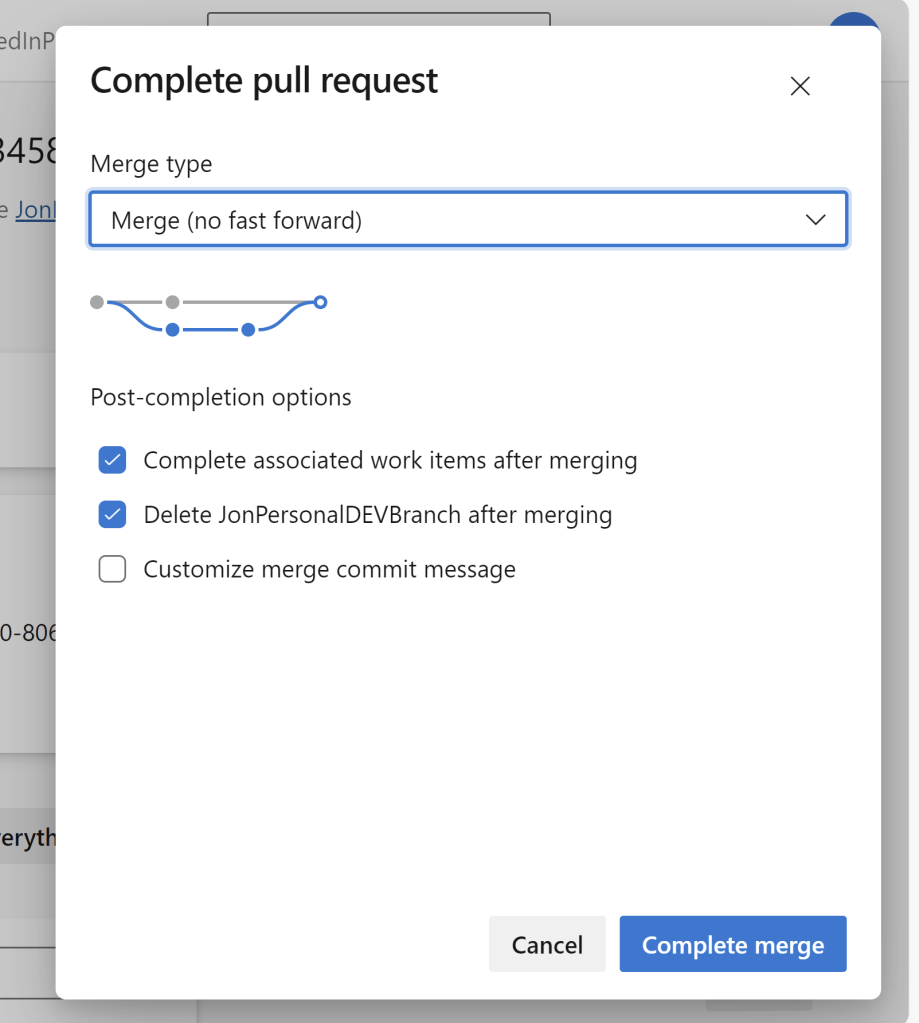
Awesome! The new changes can now be synced to the Shared DEV Workspace, and is ready to be tested:

Merge Conflicts in Approach 1
Well, what if my teammate now commits a secondary change from their personal DEV workspace and branch, with a conflicting change?
Let’s say that another change was made. My teammate had the same idea as me, but happened to put the same Measure into a slightly differently named Measure Table:

Which was also committed to another Feature Branch, and requested to be pulled into Main:

Then the Pull Request will result in a merge conflict, which will need to be handled (Resolve conflicts with Git integration – Microsoft Fabric | Microsoft Learn). You can either:
- Work with your team to resolve the conflicts manually (e.g. simply abandoning this commit, as a similar change has already been made.)
- Revert the Branch in Azure DevOps to a previous commit, to undo committed changes.
- Or start over by disconnecting your Personal DEV Workspace from the branch, and create a branch based on the main branch.
Performing the last option, will trigger a small warning popup before overriding everything in your workspace. So be sure when you click the button!

Now the teammate can resume development, and hopefully push a non-conflicting commit soon. One recommendation I will give, due to the nature of merge conflicts and the difficulty in resolving them, is to commit often instead of making tons of changes in each commit. It can be a real time saver in the long run.
Approach 2: Individual Workspaces connected to Shared Feature Branch
It is of course possible to do other strategies for Features and Branching. One that I would like to mention, is to have each Personal DEV Workspace connected to the same Shared Feature Branch, instead of connected to separate personal feature branches.
Going back to the first Personal Workspace, I can create a new Feature Branch:

And from the Second Personal Workspace I can connect to the same Feature Branch:

In the first workspace I make a change to the Semantic Model, adding a new Measure Table:
And in the Second Personal Workspace i do a similar but conflicting change:

If we return to the First Workspace and commit the change:

The second Workspace will detect a conflict right here in the Workspace interface, before committing the change:

Here you have two options:
You can either Undo the uncommitted changes made to the item, to revert them back to the previous state:

Or you can choose to Update, to either accept the incoming chances and bring the workspace back in sync, or you can keep the current content, which will allow you to override the contents of the feature branch by forcing through your commit:

Regardless of your choice, it will allow you to get back to a state where all workspaces are in sync with the shared feature branch.
Once you are happy with the content of the Feature Branch, you can head to DevOps, and perform a Pull Request into the Main Branch:

And after syncing your Shared Dev Workspace with the updated Main Branch, you are once again ready to test the new features you developed, and push them through the Deployment Pipeline:

But more about those pesky Deployment Pipelines next week…
Final Remarks
This article has outlined two different architecture proposals for collaborative Power BI / Fabric development. There are even further potential strategies out there, and I encourage anyone to tweak the process to match their own needs.
One thing to keep in mind, is that this topic is very rapidly developing and seeing alot of attention from Microsoft. Hence, do make an effort to read up on any latest development and changes made to the mentioned features, after the blog has been published.


Leave a comment