

Introduction
This blog has previously covered the great GIT Integration that has been made available for Fabric Workspaces, and its power in combination with Deployment Pipelines for proper Content Lifecycle Management:
However, what if you don’t have Fabric (and therefore can’t use the GIT integration? Or what if you simply don’t want to introduce GIT for versioning to your Power BI developers?
Well great news – Sharepoint/OneDrive provides a decent low-practical alternative. And what’s even better is: You no longer need the Publish button in Power BI Desktop.
Saving your Power BI files to OneDrive/SharePoint
The first step of your new Power BI Version Control strategy, is to get all of your Power BI files saved in the cloud instead of your local machine.
This comes with two obvious benefits:
- You automatically have a backup in case your computer decides to quit.
- You can take advantage of the built-in version control of OneDrive/SharePoint and avoid having to save weird backup files, when you are afraid that your changes might break something (no more FinalReportV3.pbix!).
To save your Power BI files to OneDrive/SharePoint, you have three options.
- You can open OneDrive/SharePoint in your browser, navigate to the folder you wish to save to, and upload your files from there.
- You can install OneDrive/SharePoint on your computer, and save your files to a folder like it was any other local folder on your computer.
- You can take advantage of Power BIs ability to save directly to a SharePoint or OneDrive destination.
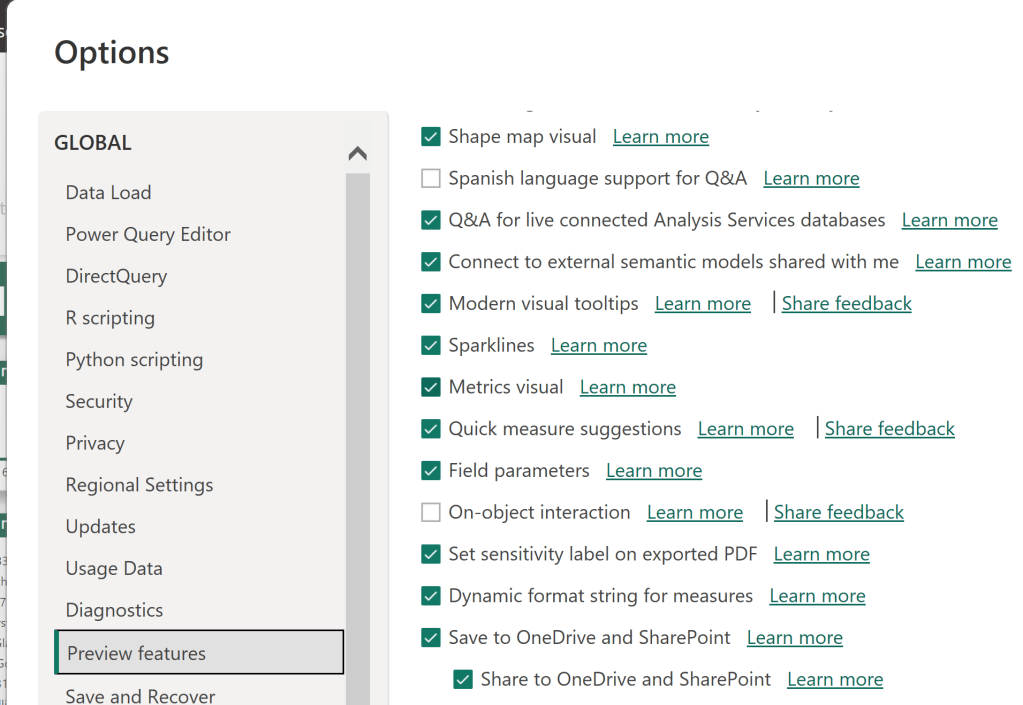
The last option is still in Preview as of August 2024 when I last checked, but if you wish to try it out, find the “Save to OneDrive and Sharepoint” option in the Preview Features section of your Power BI Desktop Settings:
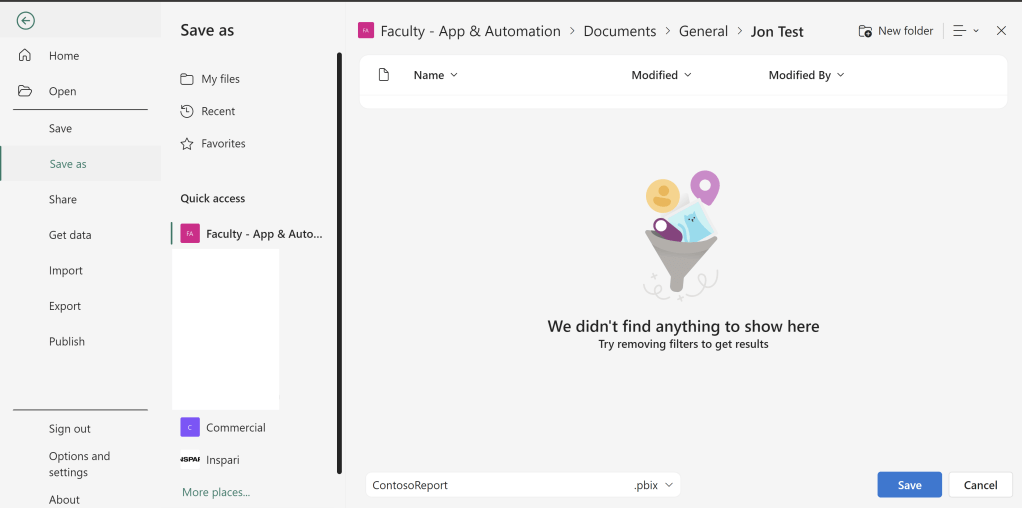
After rebooting Power BI Desktop, you will now have ‘OneDrive’ available as a Save As-destination when you go to File -> Save As:

Selecting OneDrive allows you to choose a saving destination. And don’t be fooled. Despite the section being called OneDrive, it lists your SharePoint destinations too. In this case, I have in fact selected a SharePoint destination folder to save my report in:
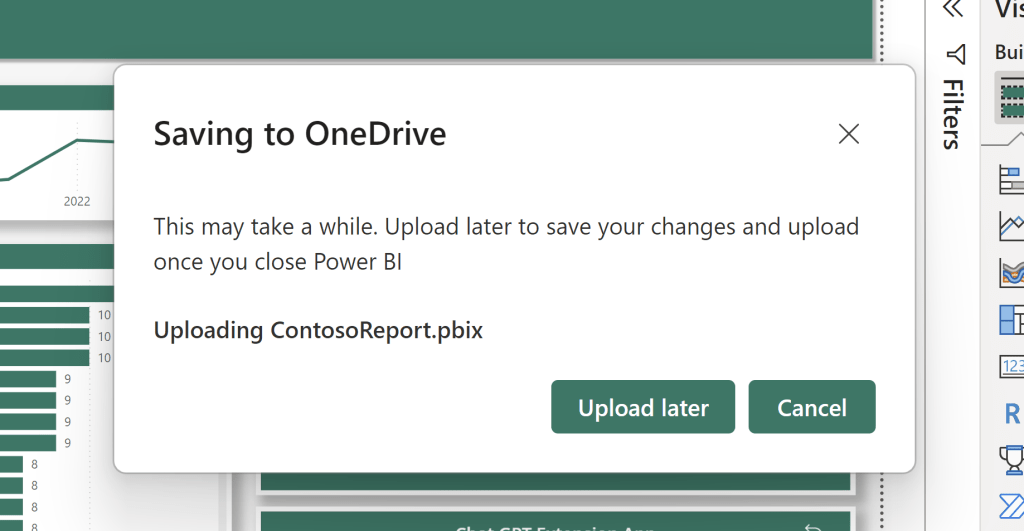
Power BI Desktop will give you a brief disclaimer stating that uploading might take a little while, depending on the size of your file:
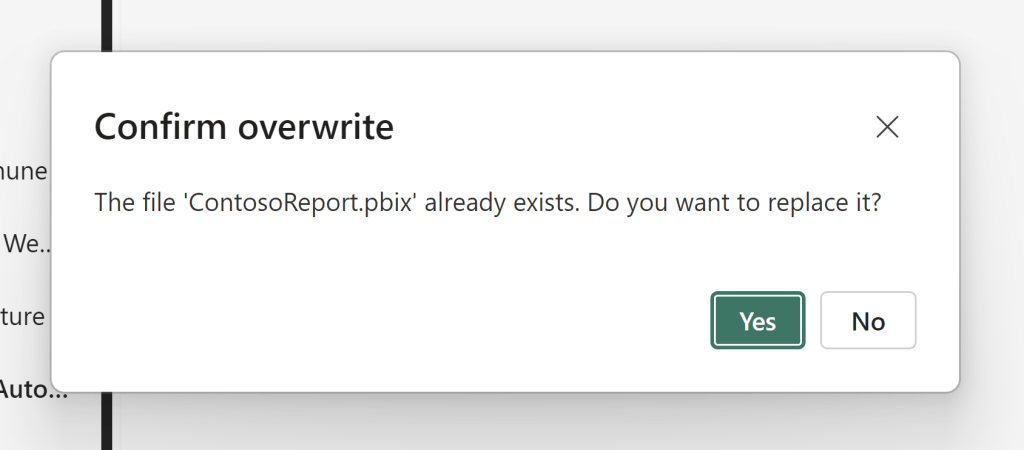
After saving and uploading, your file is now available in OneDrive/SharePoint, and if you overwrite the file in the future, older versions will be available from the files version history:


Syncing your Reports and Semantic Models from OneDrive/SharePoint to a Power BI Workspace
So your .pbix files are now saved in the cloud on OneDrive or SharePoint, including the full Version History capabilities which follows. But how do you then get these files published to a workspace?
First, you need to forget there was ever such a thing as the Publish button in Power BI Desktop. We don’t need that anymore.
Instead, you need to navigate to the Workspace you wish to upload the report to, and find the Upload button at the top:

From here, pick your storage, and upload the files you want to sync between OneDrive/SharePoint and your workspace:

Your file will be uploaded to the workspace, and you can now treat it like any other object in the Service. You may share it, include it in Workspace Apps, and if it is a Semantic Model you uploaded, you may configure refresh schedules to run:

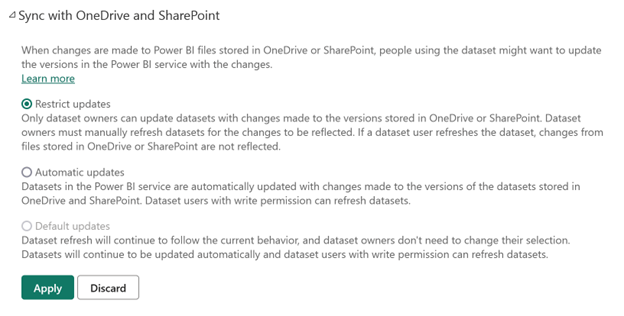
The awesome thing is, that you only need to do this upload once. After uploading, OneDrive/SharePoint can sync changes to the Power BI workspace either automatically every hour (you do not control the specific time), or by manually initiating a refresh. This does however require that your Power BI Admin has allowed this in the Tenant Settings:
For further details and official documentation, you may check out this Microsoft Learn resource: Refresh a semantic model from OneDrive or SharePoint Online – Power BI | Microsoft Learn


Leave a comment