
Introduction
The new SQL Database item in Microsoft Fabric, just announced at Ignite last week, puts a new spin on my long journey of enabling write-back for Power BI reports powered by a Microsoft Fabric backend. Until the ‘Translytical Apps’ which were also teased at Ignite becomes a public thing (Video of sneak peek), using Power Apps to write to those SQL Databases might be our best option.
Until recently, Fabric has allowed us to choose between Lakehouses and Warehouses as a backend. For write-back use cases, neither are ideal.
- The SQL Endpoint of Lakehouses are Read-Only, making writes from Power Apps impossible.
- While the SQL Endpoint of Warehouses are write-enabled, they do not support enforced Primary Keys, which are a hard requirement for Power Apps to be able to write directly to a data source.
To overcome these limitations, we started the year by leveraging Power Automate to send raw SQL statements to Fabric Data Warehouses: Guide: Add Write-Back to Power BI reports with Power Apps – Part 2: Display write-back data LIVE in Power BI reports – Downhill Data
This summer, the new possibility of running Stored Procedures directly from Power Apps offered an alternative which streamlined the number of components: Combining Power Apps & Stored Procedures in Fabric Data Warehouse – Downhill Data
With the introduction of SQL Databases in Fabric, we can finally slim this down even further, as we finally have a backend offering in Fabric with full index and key support, including Enforced Primary Keys, Identity columns and other goodies, making write-back from Power Apps much easier.
This blog gives you a quick guide to getting started.
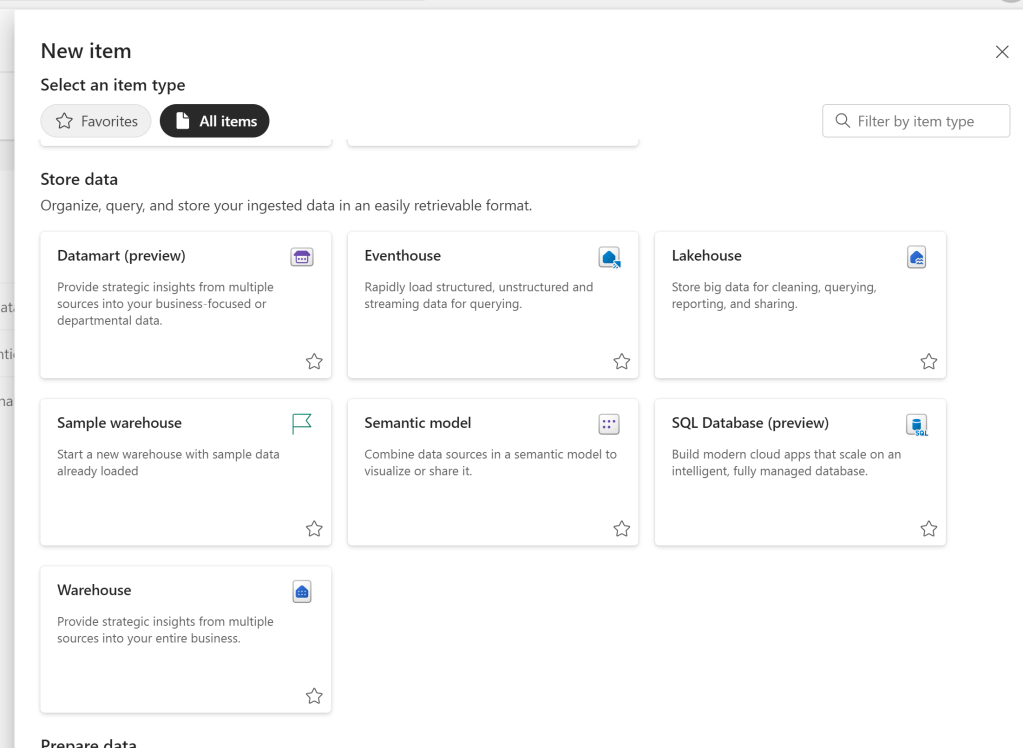
Creating the SQL Database in Fabric
Creating a SQL Database in Fabric is incredibly quick.
Pick the item from the Item List in a Fabric enabled Workspace:
After giving it a name, the SQL Database, including a SQL Endpoint and a Default Semantic Model will be created:
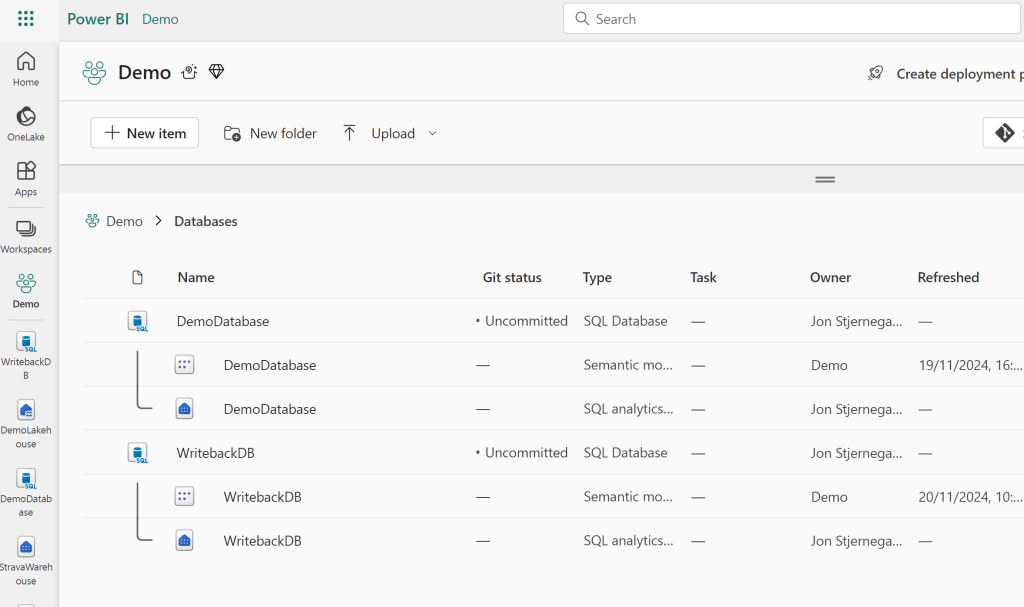
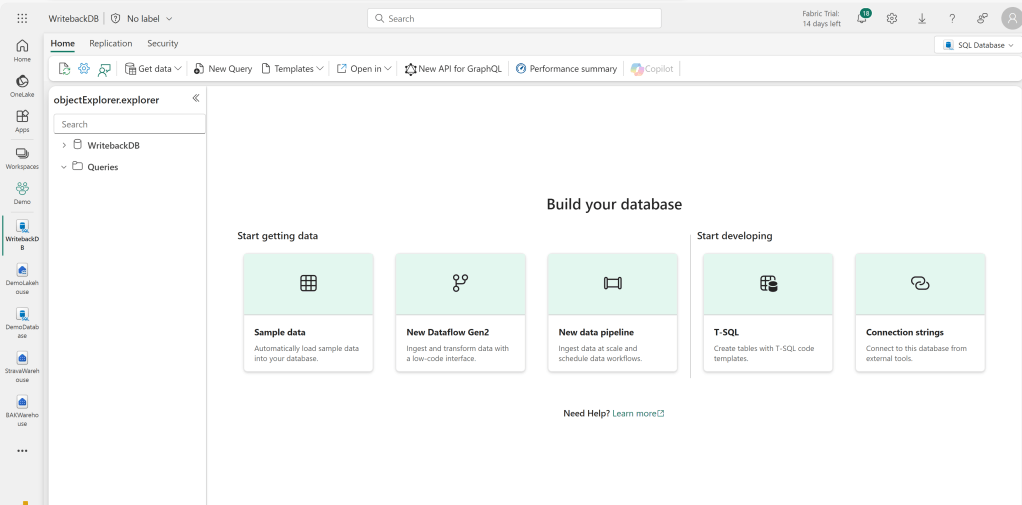
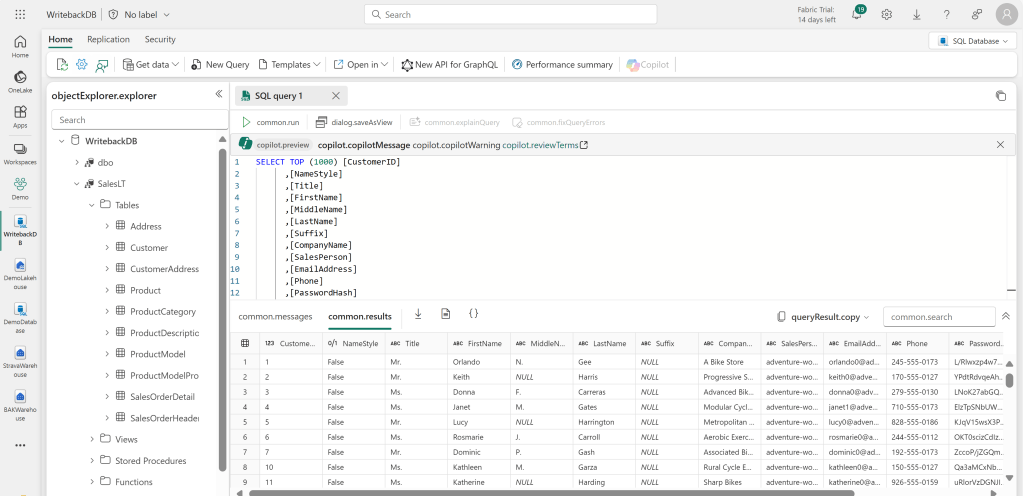
You can ingest data with Pipelines and Dataflows, but since our focus today lies elsewhere, we will simply ingest the Sample Adventure Works data:
Creating a Semantic Model: Choosing a Storage Mode
Now for the major question and decisions of this integration: How “live” does your write-back data need to be? And where do you want to use this write-back data?
If you are creating a Power BI Report with an embedded Power App that is supposed to be very interactive, where the data inputted through the app should immediately affect visuals in the Power BI report, then we of course need the integration to be as live as possible.
If however you are actually not using the write-back input in the semantic model itself, but simply need to either persist some data in OneLake, and it is sufficient to only display any data inputted by the user, within the Power App itself, well… Then the integration with Power BI does not need to be live at all.
Choosing the Storage Mode for your Semantic Model comes with certain trade-offs you need to weigh:
Option 1: DirectLake
As the SQL Database uses Mirroring to copy data to Delta Parquet in OneLake, there is a small delay before any data that lands in the database, is captured and reflected in the SQL Endpoint. This means that Direct Lake Storage Mode will not reflect your write-back data live, but will have a delay of anywhere between 15-180 seconds (according to my non-scientific testing). However, if you need to integrate the write-back data with large amounts of data stored in your OneLake, then this might still be the right storage mode for you.
If you wish to use DirectLake, create a new Lakehouse (or use an existing), shortcut in the tables you need, including the write-back tables from the SQL Endpoint of your new SQL Database in Fabric, and create a Semantic Model from this Lakehouse using DirectLake.
Option 2: DirectQuery
For a more live option, you may choose to use DirectQuery. DirectQuery will connect directly to the SQL Database you created. Not to the SQL Endpoint. This also means, that you do not need to wait for the mirroring process for data to be accessible. Rather, it is available instantly. The downside is of course the usual DirectQuery limitations.
To connect via DirectQuery, simply create a regular semantic model in Power BI desktop, connecting to the SQL Database tables that you need with DirectQuery:

For the connection details, use the connection strings supplied by selecting “Open In” > SQL Server Management Studio from the SQL Database in Fabric:

Creating a Report with an Embedded Power App
The rest of the steps are identical, regardless of your choice of storage mode for the semantic model.
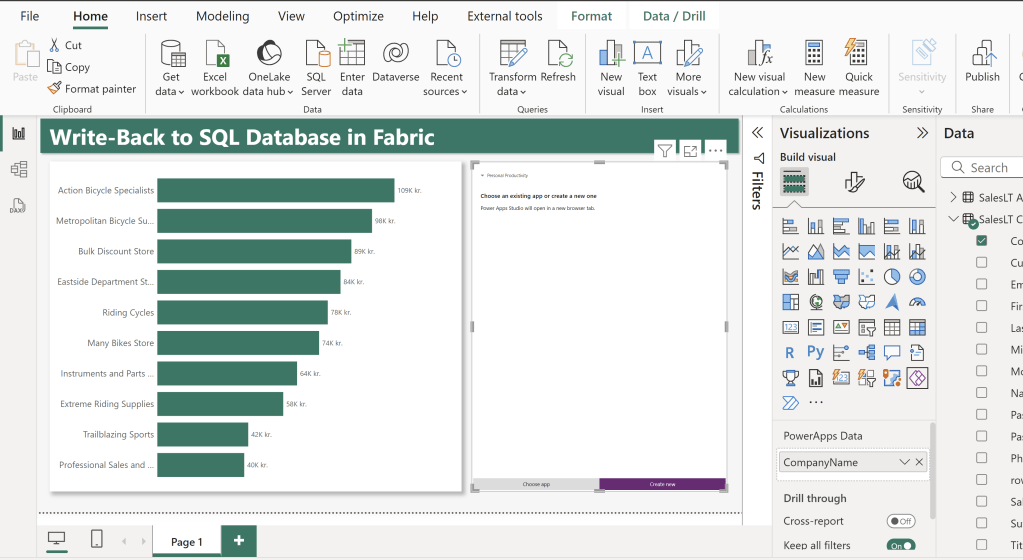
To create a report with write-back features, first create a simple Power BI Report on top of the semantic model you created before.
Here I display Sales by CompanyName, and then I’ve added a Power Apps visual, and also added the CompanyName column from the Customer table to this visual.
At this stage, I prefer to Save and Publish my report to a workspace, and continue working in the browser. This is because the integration between Power Apps and Power BI works much better in the browser than in Desktop.
After publishing, remember to add Credentials to the Data Source in the Semantic Model settings.
Creating the Power App
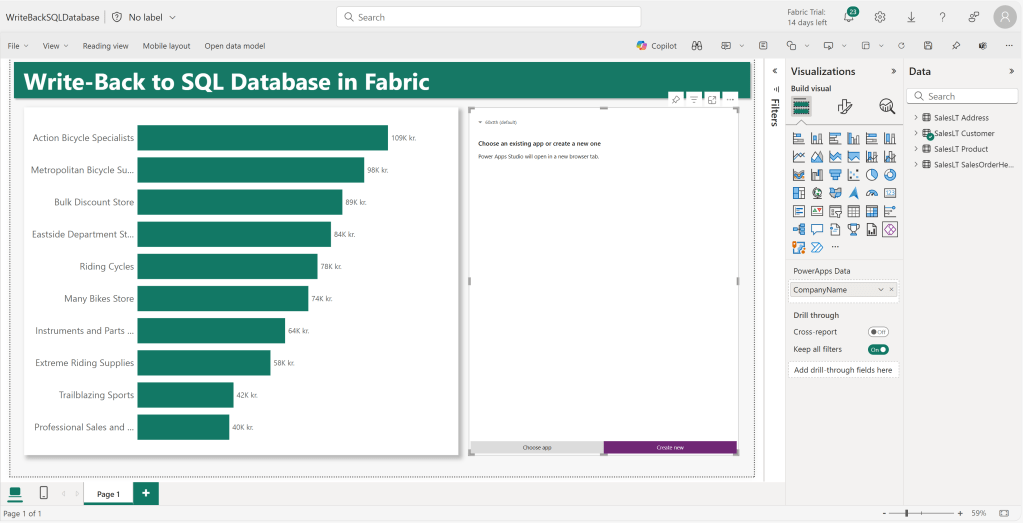
Open up the published report in your browse:

Now enter Edit Mode from the button in the top ribbon:
If you wish to have Live feedback between the embedded App and Power BI, it is important that you go ahead and create your Power App by clicking the purple “Create New” button here. If you create the app from make.powerapps.com, and then select “Choose app” here, you will not be able to use the PowerBIIntegration.Refresh() command to automatically perform visual refreshes in Power BI.
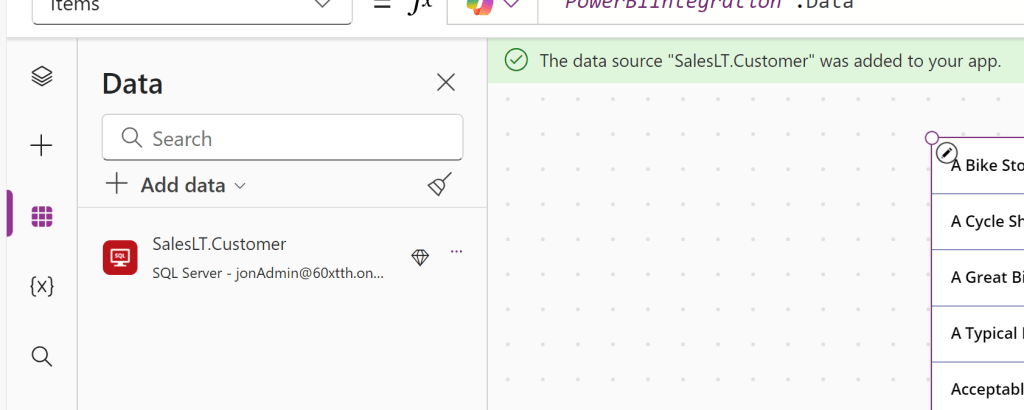
Once inside the Power Apps designer, the app will default to show us the table of data coming in from Power BI. This is the PowerBIIntegration.Data table, which in our case has only been supplied with the CompanyName column:

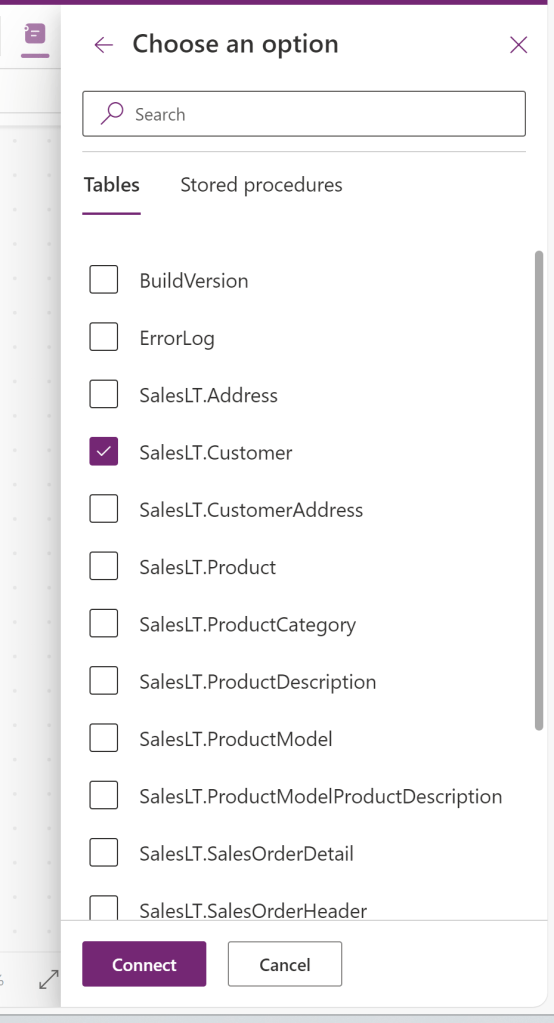
Under Data Sources, we’ll add the Fabric SQL Database as well:
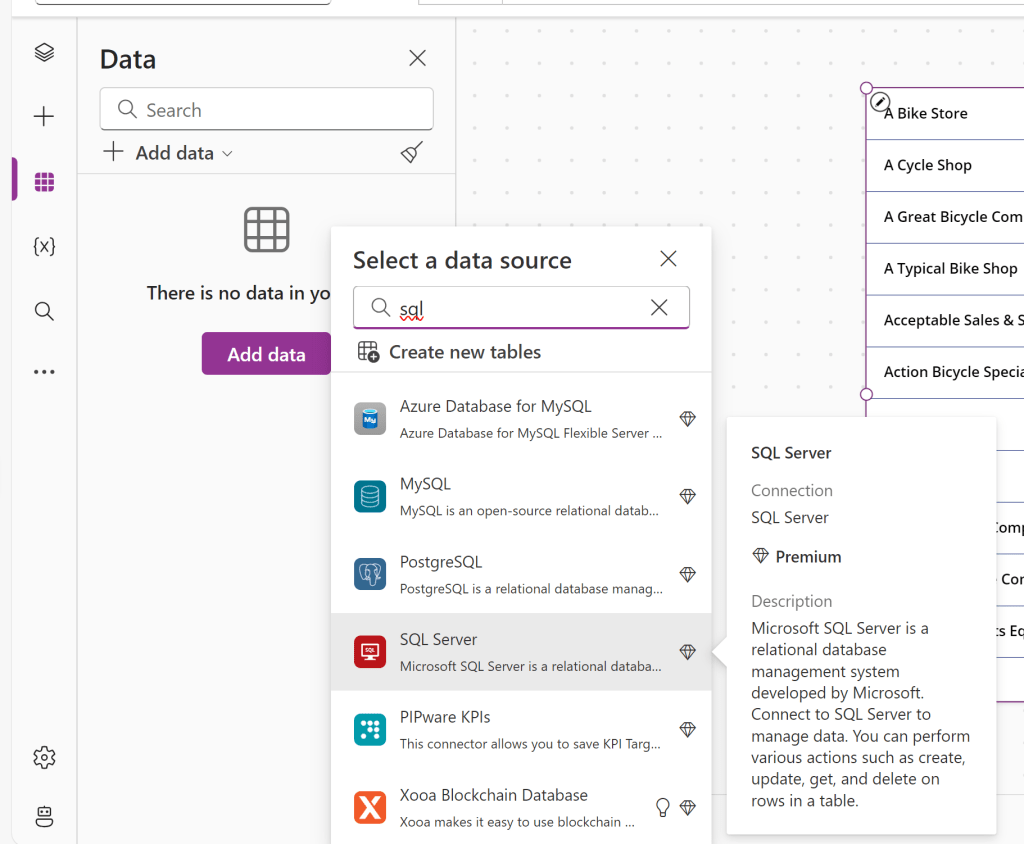
Using the same connection details as for the DirectQuery connection:

Now, I’ll build a simple interface to allow me to update the value of CompanyName in the Customer table:

Note the use of First(PowerBIIntegration.Data).CompanyName to get the selected value from Power BI to be displayed.
For the button, we’ll create an UpdateIf formula to update the CompanyName for all customers with the selected Company Name. Also put a PowerBIIntegration.Refresh command at the end, to trigger a visual refresh – If you are using Direct Query, this will make your write-back data show up immediately in your report. If you are on DirectLake, the user will need to manually refresh after a minute or so:

Save and Publish the app, and go back to your open tab with the Power BI Report in edit mode, and save here too! Don’t refresh before saving the report, or you’ll need to remap the Power Apps visual.
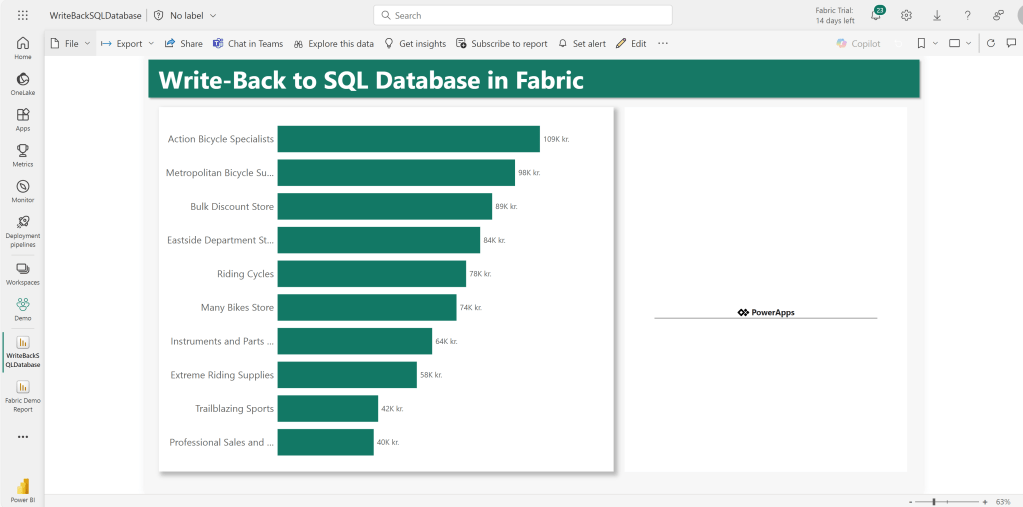
You may have to wait for a minute before the App updates in the report, but then you’ll have a functioning Power BI Report with Write-Back to the SQL Database. It will very much be LIVE if you are using DirectQuery, and it will have a delay of ~1 minute if using DirectLake:


Conclusion
And there you have it.
This is by far the simplest way to currently create write-back in Power BI. With the new SQL Databases we remove the need for adding Stored Procedures or Power Automate flows to our solution architecture, and we will even persist our data input in OneLake through the automatic mirroring in the SQL Database.
What’s not to like?
Let me know in the comments if you have any comments or ideas for the integration.


Leave a comment